| Getting Started |
What you need to know to get going with HotImage.
Download and install the latest version of Deltabit HotImage from www.delta-bit.com/downloads/hotimage .
To insert HotImage into Microsoft Visual Studio .NET C#, C++ or VB.NET, open up a project in your chosen language and follow these instructions.
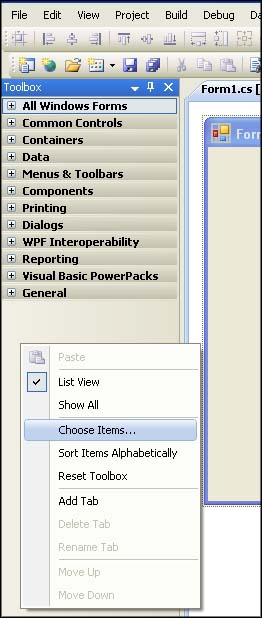
1)Right click on the Visual Studio toolbox and select "Choose Items..." from the popup menu.
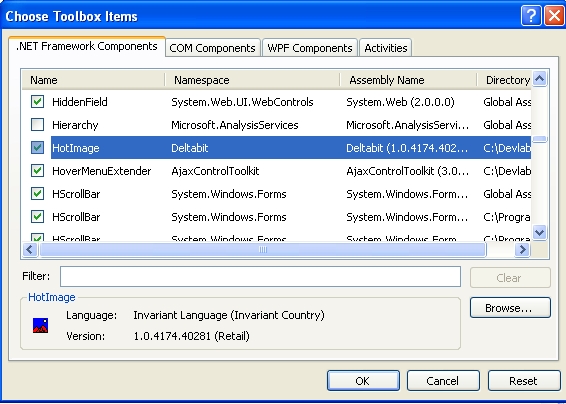
2)Now select the .NET Framework Components tab, and scroll down the list and select "HotImage". Now the OK button and the HotImage icon will appear in the toolbox.
1) Click on the HotImage icon in the Visual Studio toolbox.
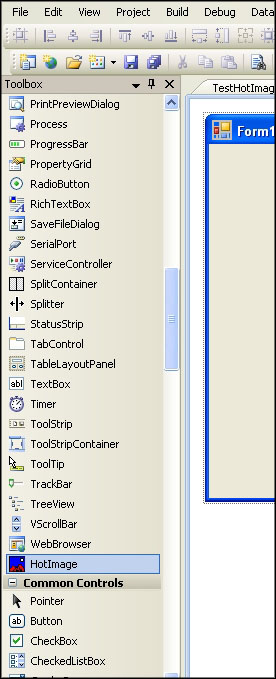
2) Drop the HotImage onto your form in the Visual Studio IDE.
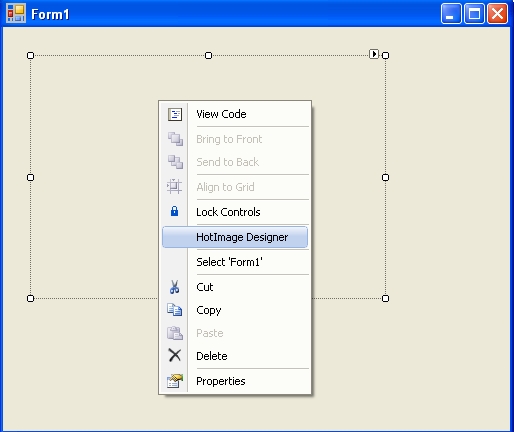
3) Right click the HotImage on your form and select the "HotImage Designer" from the popup menu. The first time you use the licensed version of Hotimage you will be asked to browse to a the DbHi20.license file. This file would have been sent to you via email when you installed Hotimage. The license file is machine specific and will not function on another machine. The license file need only be loaded once and thereafter when you select "HotImage Designer" from the popup menu, you will be taken directly to the HotImage designer where you can design your HotImage. Start by loading a picture. Select "File" from the main menu and then "Open Picture" from the dropdown menu.